Sunday, October 4, 2015

Rain...and a pincushion

 It is still coming......so much rain that everything has that damp feel to it.
Thankfully we are fine with no water problems.  As of 10 am today, we have had over 7 '' of rain since Friday.  The middle of the state and low country were the ones getting twice that amount.  Power outages, trees down, roads closed, flooding.....so there will be much clean up this next week.
  The quilt show continues today.....we were surprised at the attendance we got.  Thanks to the brave souls who got out in the mess yesterday to visit.


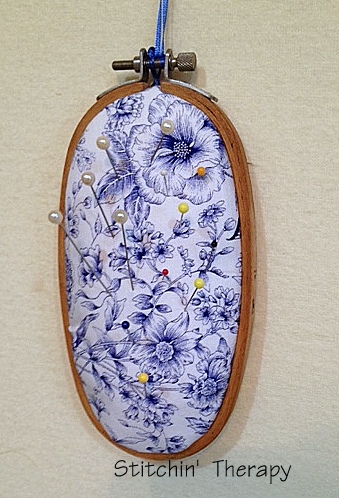
  I took about a half an hour last night and put together a pincushion from the tutorial from Friday's post.   I heard from Ella and Nesta....they loved being featured, so go visit them.

  I rummaged around and found this oval hoop.  I picked up a few of these years ago when a garment manufacturer closed up.  I loved the shape of this oval one.  It is about 6 inches long and just over 3'' wide.   I used the back of a greeting card to make the base, and then stacked scraps of batting in layers for the filling.


   I used lots and lots of tacky glue to bring the fabric around the inner hoop and hold it in place on the back.  The bright gold felt was the only piece I had that was large enough.....lots of glue to secure it too.    I don't do well with a glue gun.....I usually burn/glue myself to a project.....so tacky glue is my choice.


A matching blue ribbon and it now hangs on the design wall.  I  love this one!  And I am sure I will enjoy using it.

So if I can do this one.....I know you can too!

Happy stitching.


Friday, October 2, 2015

Friday Finds

Just a few this week......

Quilt Labels - Quilt With Us: Need a label for your quilt.....I ran across a nice collection of ones to print out onto prepared fabric.  From our friends at Connecting Threads.  There are good instructions at the top of the page to explain how to save and print.


HoopPinFinal Cute idea for pincushion to use old hankies.:
From BumbleBeeLinens


What a cute idea for a pin cushion!  From BumbleBeeLinens.   Turn an unused  small embroidery hoop into a pin cushion.  In this case, she used an old hankie....but a favorite fabric would be just fine.   At Ella and Nesta's blog they did a little variation in fall colors, and added a hanging loop.    Great idea.....I need one to hang on my design wall!


Tree Table Runner | free pattern & tutorial:


 And to start the Season......a quick table runner.   At AddyLouCreates, you can find a good tutorial and pattern for this tree banner or table runner.  You can make it as long or short as you want with her fused trees.   Use your creativity and turn this idea into your own.
 

Please visit the links for details and to pin.
Hope you find some inspiration....happy stitching.

Tuesday, September 29, 2015

Let's Book It progress

   It was pouring down rain--yay!---Sunday afternoon.   A good time for a movie and some stitching.  I set up the Featherweight and clicked on a favorite movie that I had recorded.   Stitching on a classic while watching the classic of all time equals a perfect time.  My movie......Casablanca.  I can't say how many times I have sat through this one, but it is new every time I watch it.   I love the song, know most of the movie lines, and seem to always catch something in it that I have forgotten.

  The project I was working on was actually started in July as a leader/ender project.      I had most of the long vertical rows ready to join, so the leader/ender part was done.  That's why I pulled it out for my current Let's Book It project.


By August, I had about 8 rows pieced together.  My placement is random when joining. I think it creates a lot of movement in this extremely simple design.   Scrap fabrics....anything that was already a 2'' strip went into the mix.   I will join the rows with 1 1/2'' strips.


 And after an afternoon with Bogey, I had all the rows joined.   I added a white strip to the right side of each row---except one.  Then I sewed them together in pairs.  When joining 2 rows,  I pinned the placement of the top and the bottom "brick"......staggering the the row arrangement.  Most rows lined up almost perfect.  Others were a bit off, due probably from my pressing and stretching the fabric some what.


  Now it needs a strip of white to finish it off before I add some border strips.  I am  happy to have made some progress.

I'm  linking to Let's Book It at Vrooman's Quilts It's all about pulling out those saved patterns from books, magazines, etc.  And getting started.  Make a small version, or go large.  It's a good thing that a finish is not required......most of mine have taken a few months to complete.  And since The Season is approaching, a small project can turn into a gift  :).  Hope you will join in.

Our local guild's quilt show is this weekend.....got to get my things together for the demo.  Happy stitching.


Monday, September 28, 2015

Ruler work?

  Someone asked me to show them how to do ruler work on the Tiara.  I was amused until I realized they were serious.   The assumption being it was the latest "thing" in free motion quilting, and that was my love.  Ruler work is not a skill I have gone after.
  I noticed today that Patsy Thompson has put out a new DVD on her ruler work and raves about the ease of it.  I believe her, yet I am not convinced it is for me.
I have watched several  videos on youtube, read about it, and admired the results on lots of quilts.  My thinking lead me to ask myself some questions.

Echo Feet

What is required and what is the cost?
   It is a big investment.   New feet are required......and then there are the rulers.

resized Ruler Work for the Sit Down Quilter Front Cover  And you might as well add in a book or two, or DVD.....or maybe a class.  All I could see was $$$.


Next question......Am I willing to invest the time to practice enough to achieve really great results?   I spent over a year practicing free motion quilting to feel confident and gain control.  Then all the extra time learning to stitch free motion feathers.....throw in another year.  Even with my skill set, I figure it would take several months to gain the co-ordination required.


Finally.......Do I want to do this much or type of quilting on my quilts?
  This was the true deciding question.....and no, it is not the look I am going for.  While I do enter my quilts in our guild's quilt show, I don't enter larger or regional shows.  And big shows, just love the overly quilted, dense forms of quilting.   I think I already "over quilt" my quilts anyway.  Heavier quilting would just make them stiffer.....and probably not show up well either.  Of course, ruler work doesn't have to be dense.....it just seems to be the style right now.


 I make quilts to be used, and loved.  I was wonderfully reminded of this over the weekend at lunch with Chad, Amber and the beautiful Gracelyn.  She is 5 months old now and is scooting right off her Dancing Wings quilt!   Amber kept saying how much they have enjoyed the quilt and cart it everywhere she goes.   That's the highest compliment to my mind.

 So no....I chose not to do the ruler work.  Please note I did not say "never".  Experience has taught me, that the moment I say never......the universe will change, the earth will tilt on its axis, and I will have to eat my words.  For now, I am quite content with my free motion skills, and simply taking the path that suits me.

Update.....I just read LuAnn's post today.    She talks about some simple quilting designs that work.  Just thought i would share.

Saturday, September 26, 2015

Braided star block...again

    I know I showed this block about two year ago when I experimented with it.   It has been hanging around in the orphan block bin since then.   I thought a few more blocks would be a good project....just make enough or a banner, or table runner.    For the post on the tutorial for construction, click here.


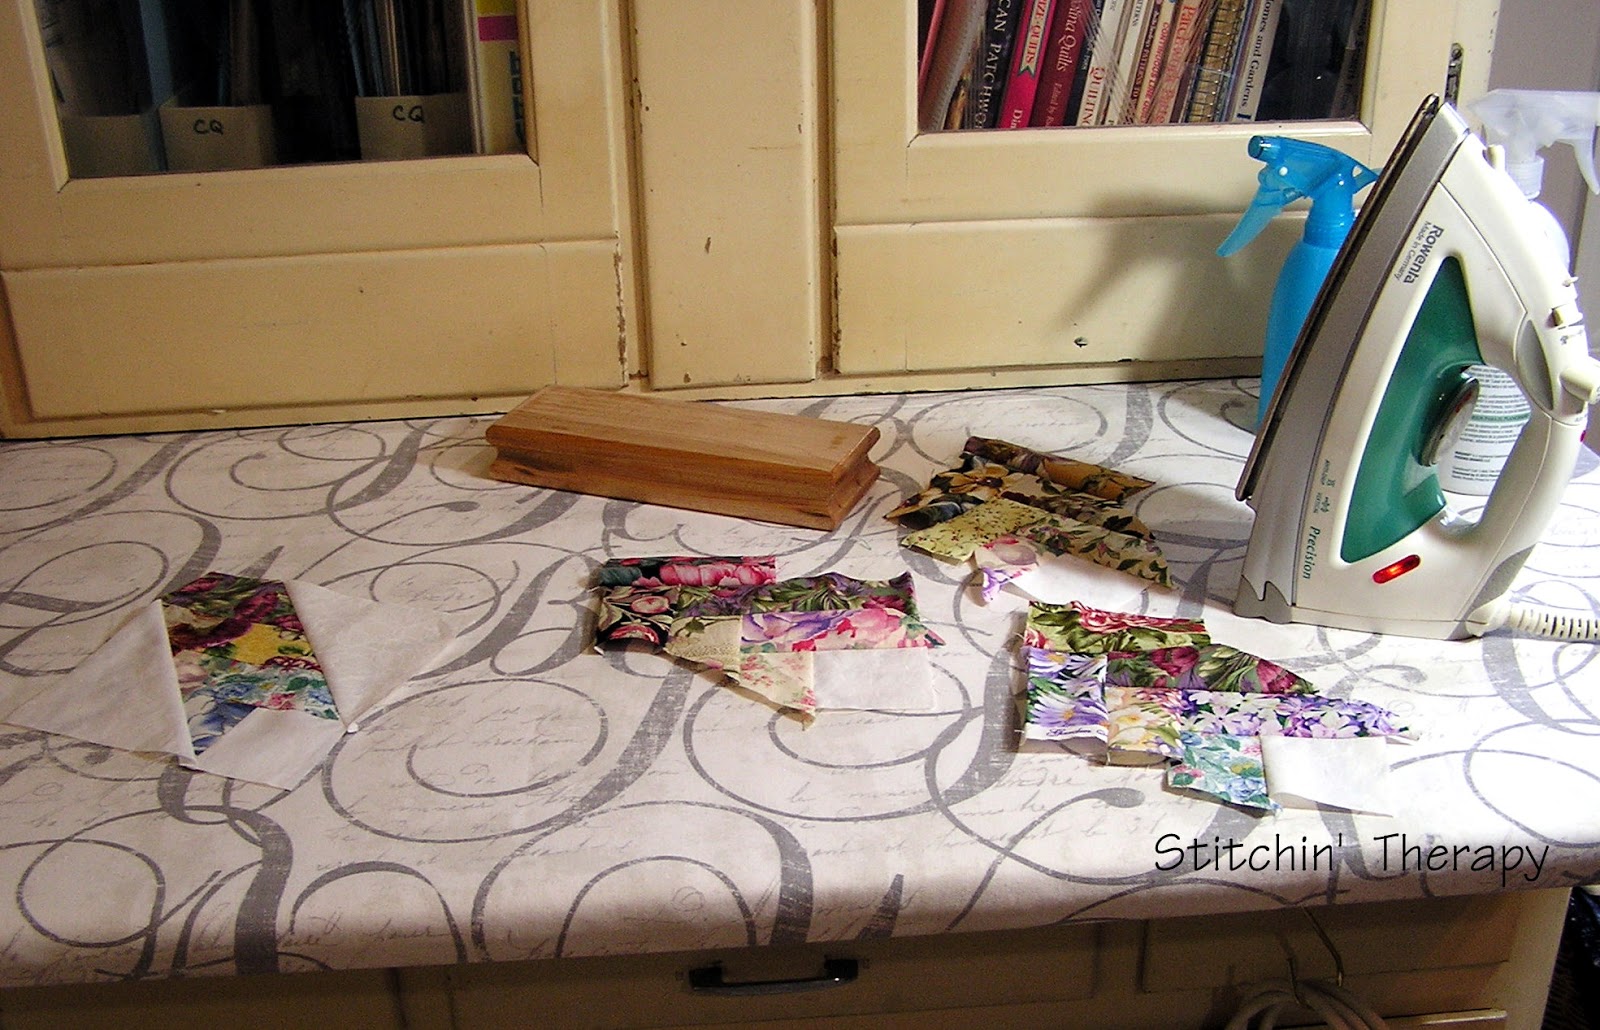
One section done.  Notice the background.....my newly finished ironing station cover!


  I was working on the star sections when Sir Old Man brought up the plywood top ready to cover and put into place for the ironing station.  Since he was itching to get this project scratched off his to do list,  I put the pieces aside.   Out came the batting scraps....enough to make 3 layers.  Then we pulled out the fabric I had intended to use to cover it all.  Guess what....it was too short!  Rather than create another UFO, he insisted we go find some fabric and get it done.
 
  Off we went in the pouring rain to the J store.....Traffic was awful, so I am glad he was driving.  I thought I would just zip in and pick up some cotton ticking as a cover for a nice old fashion look.    The clerk looked at me rather blankly when I asked for cotton ticking.....am I that old and out of date?   Luckily, we found some home-dec fabric on sale that I liked.  And we happened upon some furniture glides that Sir Old Man wanted.  Thanks to the helpful and tech savvy cashier, who knew how to enlarge the coupons on the latest email, we saved $16.  Guess the trip was worth it.
   So back home and staple gun in hand, he made quick work  of finishing this off.   And I got to do the inaugural press on the braided star sections.


Back to the block.....another section trimmed and ready to add the corners.

  It feels good to be using some floral prints again.  Happy stitching.


Friday, September 25, 2015

Friday Finds

Shorter days, cooler nights means changing seasons.  Time to think about Autumn finally!  To spiff up your decor, you might check out a couple of these places.

Fall Quilt Project: Autumn Glow
Free projects are all over this page at  Landauerpub.com.  
From small quilts, to blocks, to appliques.....PDF projects are free to use.  Several projects from Thimbleberries, which are always so great.  Even if you are not making a seasonal project this year, you might want to grab the pattern for later.


This leaf is made by hammering an actual leaf onto the fabric to create a print, and then #quilting the outline and veins:
From Bloombakecreate.com


At   Bloom bake create  I found a tutorial for what she calls hammered leaves......leaf pounding/flower pounding.    I like her idea of using a real hammer......that means I get to swipe something from the workshop when I play around with this technique.   Simple straight stitching brings out the details.  Great to use on many small projects.


Meadow (a quilt tutorial)mixed sizes of tossed 9 patch used.:
From Bonjour Quilts

And a design idea......I found this at Bonjour Quilts.    Using 3 sizes of the Tossed 9 Patch block, she created a lot of visual interest for the background.  Appliqued flowers stretch from corner to corner.  While the color palette is not one I would select,  I found it interesting for  using the multiple sizes.  Done in seasonal colors....or batiks....this
could be fun to play with.


A Few Scraps: Quilt as you Go tutorial: Joining your quilted pieces by machine:
From A Few Scraps

A Few Scraps offered up a very good tutorial on joining Quilt As You Go blocks.    This is not a process that I like, yet Christina has some very good tips in her tutorial that make me think I might do this one day.  At least I pinned it for future reference.  Check out her blog for some excellent free motion lessons.....her second book was just published, too.   I like her simple direct style.


  As always, visit the links to pin from the source.  Happy stitching.

Tuesday, September 22, 2015

More doll quilts

    I am having internet service problems this week.  Two hours to write a post is way too long.  Email is sporadic also.....so if I miss replying, please understand.  So enjoy the photos....some would only load as extra large.......a great collection this week.

  Three very cute quilts from Mrs. Claus of California.  Suestitches is a member of the Our Circle of Friends group.    The paper pieced kangaroo is just adorable, and hexagons and strings are always welcome!

 
Mrs. Claus of Ohio, aka Chlynn1129 is also a member of Our circle of Friends.  Her little quilt proves you can never go wrong with lots of 4 patches.  I love seeing a wonderful assortment of fabrics.   Mrs. Claus finished this off with decorative machine stitches for the quilting and binding.


Just for comparison, this Mrs. Claus used rectangles.  PatriciaAnne  is Mrs. Claus of Maryland and a member of Our Circle of Friends.  This is a great way to use up some scraps and still make something a little bit different.  She also used decorative stitching for the quilting.


Mrs. Claus of Texas, aka Nicki, finished off her little quilts with these two.  The pinwheel.....red and white is so striking....was made using the Easy Pinwheel method from Missouri Star Quilts.   And check out her Lots of Dots.....each of the fabrics features dots.  both of these turned out so cute!


What a beauty......sent by Mrs. Claus of Arizona, aka Kaylaquilts.  She is also a member of Our Circle of Friends.  The colors and stars are just beautiful.....and hand quilted.   She chose to represent Alaska with this quilt.  And she sent more....


 Two wonderful quilts of hexagons.  The dotted sashing is also used for the bindings.....and again Mrs. Claus hand quilted both!  Of course, I am partial to the purple one  :)  These represent Arizona and Missouri.


  Can you figure out which state this little quilt represents?  Hawaiian quilting in the traditional way for the island state of Hawaii.  And this is heavily quilted by hand in the Hawaiian style.....Mrs. Claus you out did yourself !


  Thank you all.....each Mrs. Claus is so special to me.  I cherish all the support and help.  The first delivery is soon.....the season is beginning.  Thanks again.  
Related Posts Plugin for WordPress, Blogger...