Year 2020...... not the most productive in my life. Major efforts were made into a collage.
In the center is the wonky Court House steps quilt. About half of these blocks were made prior to this year, and being in lockdown was a good reason to assemble them.
Upper left, just strings, and more string blocks! This turned in to my Chaos Quilt, or what I thought would be the pandemic quilt. I figured by the end of this one the pandemic would be history. And the joke was on me.....so Chaos it became.
Lower left is the spool block quilt. Lots of spool blocks were made during the Spring and Summer months for this one. It is as yet unquilted.
Top right, by late summer I was in dire need of some light in my world. Not just sunlight, but illuminating light of hope. So I naturally turned to create a watercolor project. It too is unfinished and waits to be quilted.
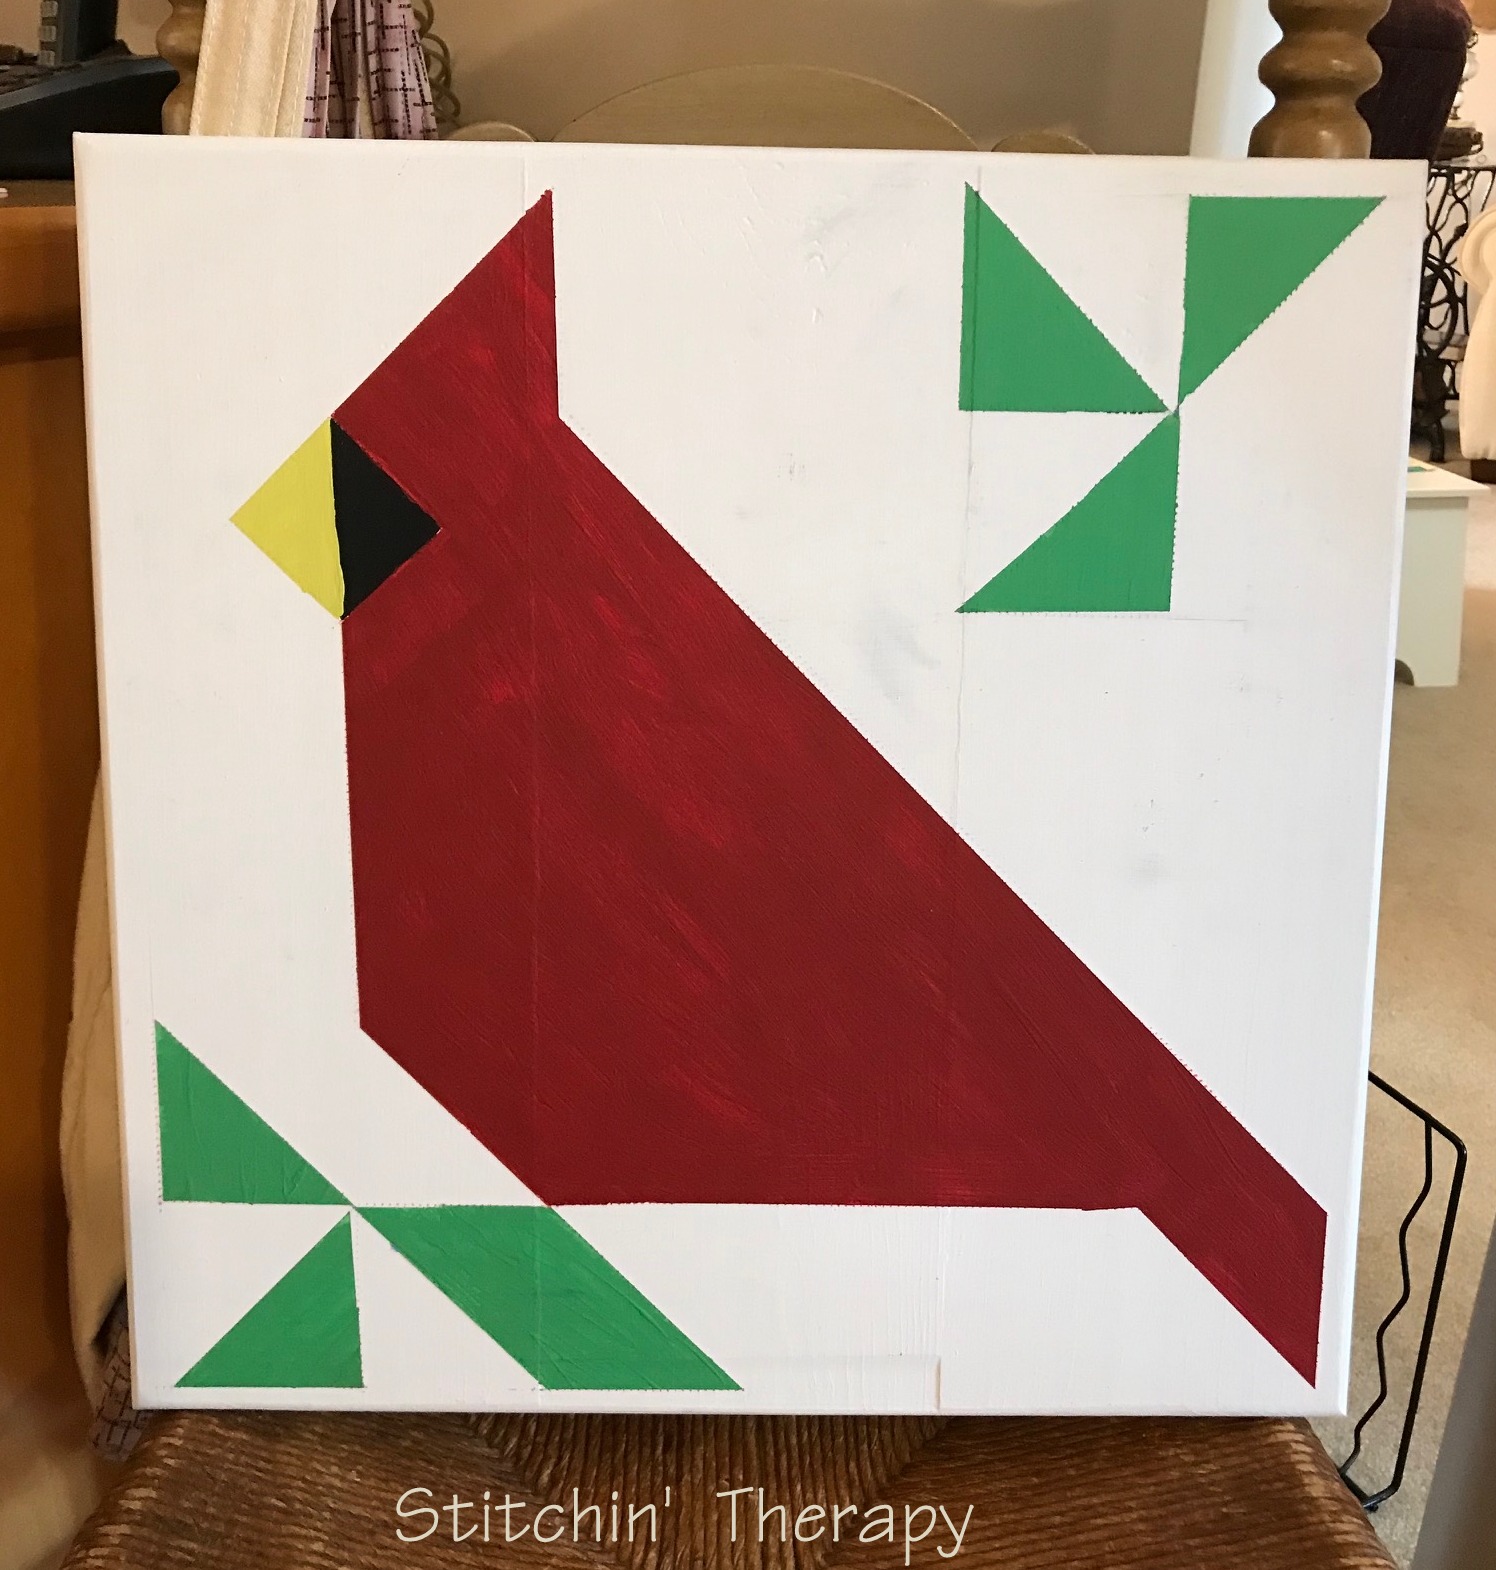
Lower right, is mine, but created by Sir Old Man. He fulfilled my request for a bright spot to hang on the garden shed. The cardinal has long been my symbol of Hope. And now it is always in view. The wooden barn quilt block is 16'' square.
As the year ends I am working on assembling about 100 Easy Breezy blocks. These have been my leader and ender project for the year. And rather than begin something new, I plan on getting at least one top quilted. If I need to just stitch I can always make a few string blocks.....it is a good never ending project for me.
What did I learn in 2020?
It was brought home to me to listen to my body. Diagnosed with Erosive Osteoarthritis put a halt to machine quilting this year. I found it painful, so I decided to not do any quilting for 6 months at least. I believe it has helped the severe inflammation in the wrists. I picked up crochet again to try to keep my fingers moving and nimble. That too has seemed to help. Overall, things in moderation are possible, so I think one quilt top quilted is doable:) Big smile.
Although I am home most of the time anyway, I need to get out. I need to see people. Even a ride to the drugstore, or the open produce market is a treat. My body may be breaking down, but my heart still wants relationship with others.
Small joys are all around us. You must look for them and take time to enjoy them. Fifteen minutes in the sun or just sitting on the porch to watch the blue birds.
The glorious colors of the sunset behind the trees ends the day well. The sweet small of apples in the fall, and the earthy scent of burning leaves remind me of the season's change. Full moons, and meteor showers, and wonders in the sky were seen and marveled at this year.
And Sir Old Man has one more
barn quilt to finish this year.
A Double Star pattern caught his eye earlier this fall and He decided to make one to hang on the front of the house. For this one, he wanted a more rustic appearance. The wood was destressed a bit, and routed to create the look of barn wood. It is well sealed and will be under the eaves for some protection.
And tomorrow we do it all agin....so , come on 2021, give us the best!
Happy stitching.