Showing posts with label journal cover. Show all posts

Thursday, November 3, 2016

Some bits and pieces

    I finished up a few more Quilty 365 circles that I had partially done.  And then I added  quite a few half circles that I will use on the ends of my staggered rows.  My tally is 275 circles and half circles.  That is good for me considering the year I have had:)
   So all the remaining circles will go into a second quilt.....just adding it to my list of "to-dos".

    Nope, not starting it until I move something else along.  Why?  It's my Rule of 3 in the sewing room.  I mentioned it before and got a ton of questions/comments about it.  I was going to do a post on it and thought to look back into the past.
Here is the post where I completely explain the Rule of 3 and how it came to be.


   I have 2 tops to pin and quilt and one on the design wall.....the pineapple blossoms.  I am letting the blossoms  simmer while I get the other 2 pinned.   Not sure if I want to go any larger, but do think I want a border.....so let it simmer a while:)


   I keep 2 journals close to my sewing machine.  The Scrabble cover one is for free motion quilting motifs that I have conquered or used on quilts I have made.  The extra papers in the back are motifs that I want to try my hand at.

  The open journal is my idea and thoughts journal.  I note future plans by month maybe, or list quilt ideas that I want to explore.  And all important....lists of needed things to get/order, ---like fabric, thread, etc.   I am really glad I started these a few years ago, since the lack of  B-12 has affected my short term memory.    The memory has improved but still needs help like my lists.


Clock, Time, Stand By 
   Sir Old Man started it already...... messing with my mind over the time change that happens this weekend.  Just wake me up in time for coffee, okay?
Happy stitching.


Thursday, September 25, 2014

Treasure journals

  About 7 years ago, I won a Quilter's Journal as a door prize at a local quilt show.  At first I thought I would never use it, but I have.  It is about half filled with ideas for quilts I wanted to make,  pictures torn from magazines that I found inspiration in, and lots of quilting motifs I wanted to try.  I also clip in handy info that I use often, like measurements for tote bags and things I found on blogs and printed off.
   Then 2 years ago, Sir Old Man bought me another journal made of totally re-cycled paper.  The cover is made from a Scrabble game board and the pages are office letterhead stock that was never used.  I decided to fill it with free motion  quilting motifs as I accomplished them.  It is not a sketchbook, but rather a reference diary that is easy to refer to when I am looking for a design to stitch.

  The sewing room was re-organized when Hot Legs arrived, and I went thru a big clean out and ended up with a  stack of "items" that I just did not want to toss, yet what to do with them.  I had paper gift tags from all the items my daughter had knitted for me, bookmarks, napkins, cards, and such.  That kind of stuff.....that for some reason I needed to hang onto.  I had them stuffed into a folder.  So journal number 3 was born.  I glued items into a smaller journal, made  pockets of the notecards and glued them in.  They are great to hold the bookmarks, and items I might use someday!  I recently discovered this is called a "junk journal".   Maybe so, I think it is a treasure journal of tokens I find inspiration in.


  The treasure/junk journal is the small one in the left corner.  I used a bit of thread painting when I made the cover.  And I have had to add a cord to wrap around it as a closure.
  Anyway, I treasure all three because they hold a wealth of past experiences, and inspiration for the future.
  Got any treasures?   You might need a journal.  :-)
Happy stitching.

Sunday, January 8, 2012

Calendar / Journal cover

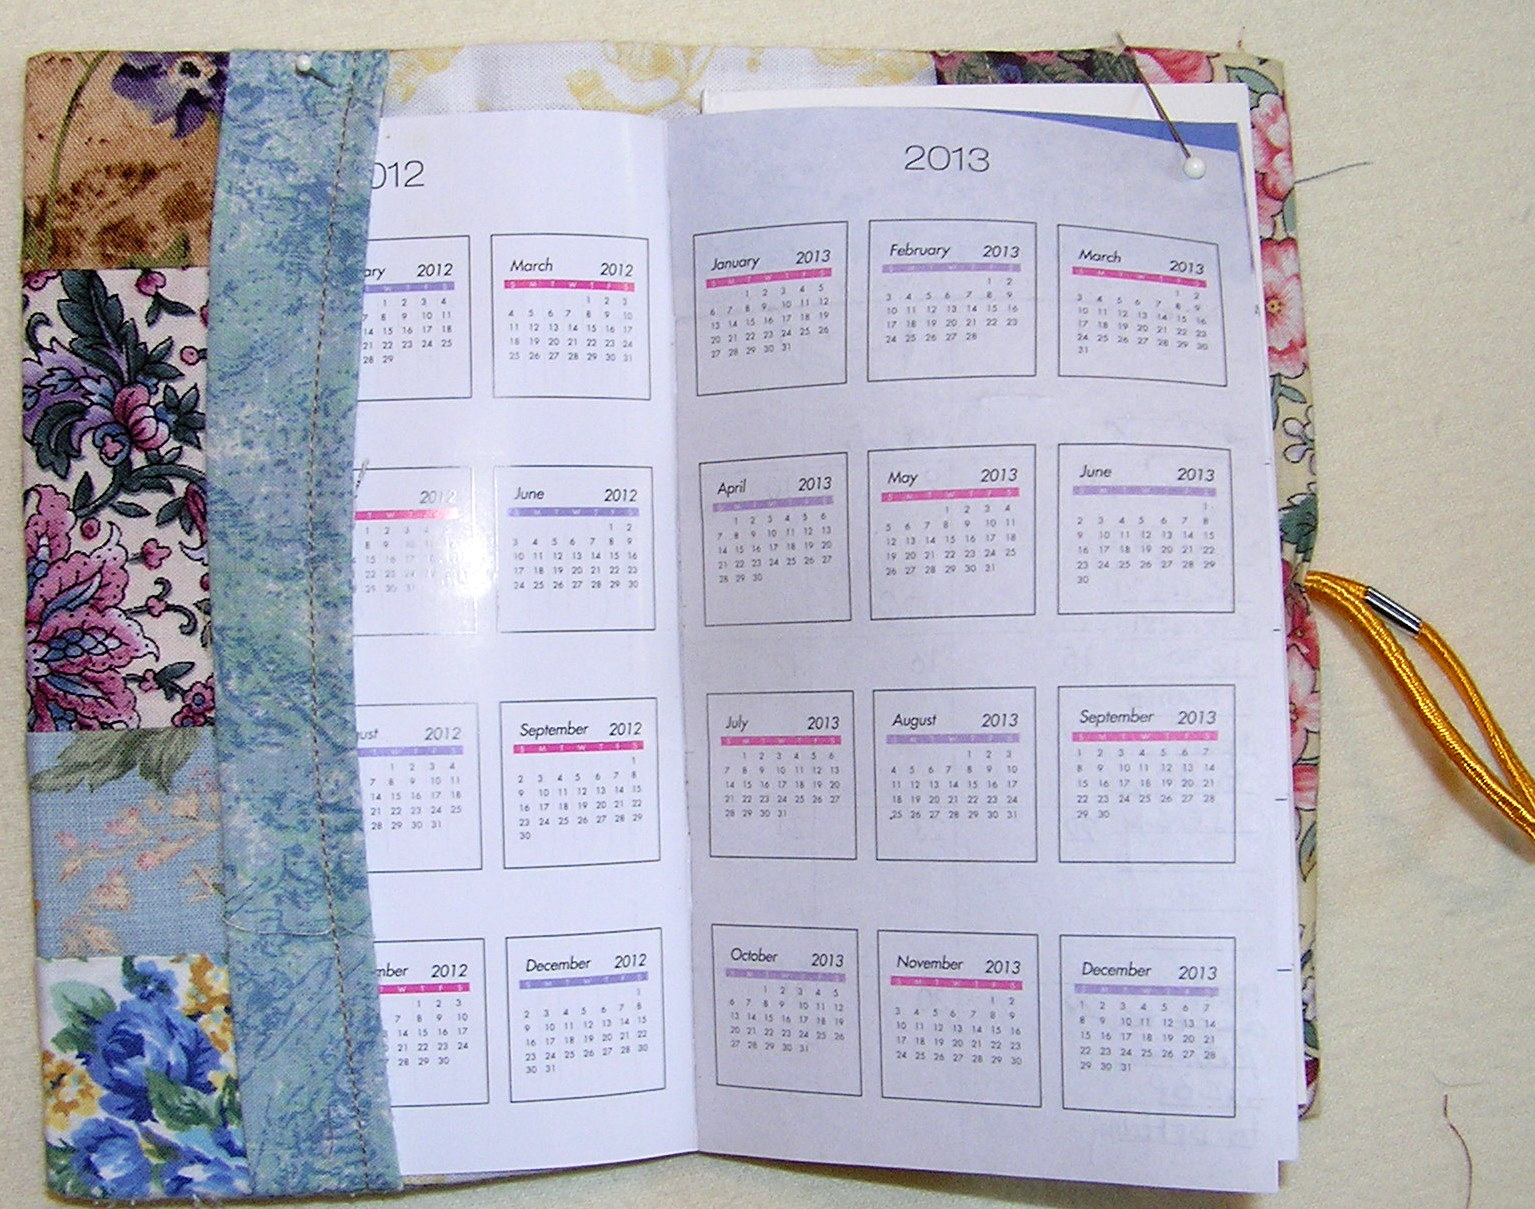
  I wanted a fabric cover (I really hate those plastic ones)  for my small calendar that I carry in my purse.  And there are lots of tutorials for journal covers.   The part I hate is turning the whole thing inside out and then closing off the hole used  for turning.  Mine seems to always look uneven and wavy.  And then the batting in the flap areas create too much bulk.  So I looked for an easier way to finish it off.  

  I measured the cover to determine the size of the piecing for the cover and added 1/4" to that measurement to allow for some ease for turning.  To each end I added wide strips that would become the end flap.  I made these about 4" wide and hemmed the outer edge. *Note: the end flaps will end up about 2" in the finished project.  The flaps have no batting--just 2 layers of fabric---to reduce bulk.
On the back side I pinned a piece of batting cut to the exact size of the cover.  Mine was 7 1/2" by 8".   The end flaps will not have batting between the 2 layers of fabric.    Then do a little quilting to hold the batting in place...this is a good place to practice some  free motion  quilting, or straight lines even.

   Now to put it together.....quilted cover is face up.  One one end, fold the end flap extension wrong sides together and bring the edge that is hemmed to meet the side seam of the pieced cover.   Now fold  the folded end flap towards  the center of the cover ---right side to right side of fabric.  Cut a piece of lining fabric to the exact of the cover unit you created.  Place lining fabric right side to the cover right side.  Pin at the top and bottom.
  You have created the sandwich of quilted cover with the end flaps folded to the center, and topped with the lining fabric.  Now turn this sandwich over, pin if needed to hold it all in place. 

Almost done....just 2 seams to stitch.  Stitch along the top and bottom of the sandwich you created.  Stitch 1/4" from the edge.  The batting will not be caught in the seam.....it won't matter because it is already quilted.
Slide your hand between the lining fabric and the cover from one of the open ends.
Now turn the whole thing inside out.
Press.  Once turned inside out, this is what you see.  

Now turn the end flaps back towards the lining.  Done! 
 The lining ends are hidden and no opening to finish off, or bulk in the seam lines to trim away.


Add a closure if desired.  I just stitched an elastic hair band to the back edge at the center point.  When closed the band can be easily stretched over the cover to hold it closed.  A ribbon and button could be used, too.  Add calendar---got to keep all those doctors appointments, exams, and meeting times straight---and a small notepad in the back, if desired.
  Journal covers can be done the same way, just be sure to measure the journal and add about 1/4" for ease to your measurement.  A great waste not, use up the small scraps project.  Actually, these would make great gifts and stocking stuffers for next Christmas.  Got to add these to my gift list.
Happy stitching.



Friday, September 16, 2011

T.G.I.F.F.

Welcome to this TGIFF party----for recent finishes.  Visit Quilt Matters for the other links for viewing other finishes.
  A journal cover is my quick finish for this week.  It began with a little bit of thread painting on scraps of sun painted fabric.   What  else can you do with a small piece that is about 4" by 5"?   I framed it  with fabric  using the sew and flip method to cover a piece of batting the size I needed.   A little quilting and then I completed the cover. 


   My summer quilting project was the florabunda blocks that Bonnie Hunter shared  at Quiltville.com.  The first blocks I completed were strong.  It was almost overpowering with that yellow.  But I was committed to finish it. 
Once it was completed and quilted.....ah, success.   The overall quilting soften all the strong colors and prints.  Everything seemed to work together.    Click here for  my  final post on Summer of Love.

There's a sew along starting soon for this. ---- just in case you would like to make your own version of the florabunda blocks, which are a variation of Jacob's Ladder.  Freda will be following Bonnie's tutorial, too. 
  My bargello gift quilt is ready for the final press and quilting!  I may have a finish next week too.
Thanks for visiting on the TGIFF.  Happy stitching.

Monday, December 14, 2009

Gifts from Deana

When my daughter showed me the scaves she was knitting a couple of weeks ago, I did my usual whine, "When do I get one?".  She brushed me off with the comment that she didn't have time this year.  She's a sly one!  She already had something better planned.  This is the photo of the absolutely beautiful snood that she knitted for me. It has scalloped edges and drapes so nice around the neck.   It was one of the 60 gifts for my birthday....and that's another story.  The snood is like a  cowl-neck scarf that can be pulled up to cover the  ears and head.  I love it, thank you Deana. 
She also gave me a notebook to use as a journal with the  label, My Alaska Trip.  We are planning a week long trip in the spring to Alaska and have booked our tickets.  I thought that was so special and today I made a quilted cover for it.  I used an "orphan" block and added scraps and fabric pieces to make it large enough.  The bluish-purple fabric was perfect to use  because it has scripted journal entries and line drawings on it.  Can't remember how long it has been waiting for a project to be used in.   That is the great thing about a fabric stash, just finding the perfect fabric to  complete a project.   Hope your stash grows often and is replenished with use.
Related Posts Plugin for WordPress, Blogger...